In python, “syntax” refers to the set of rules that defines the combinations of symbols and structures in a programming language. It is similar to grammar in human languages. Understanding syntax is fundamental because even a small mistake can cause your program to fail.
Why does it matter? Proper syntax is crucial for making your code understandable not just for the computer but for your future self and other developers too. Using the correct syntax ensures that your code functions as expected.
Code Examples
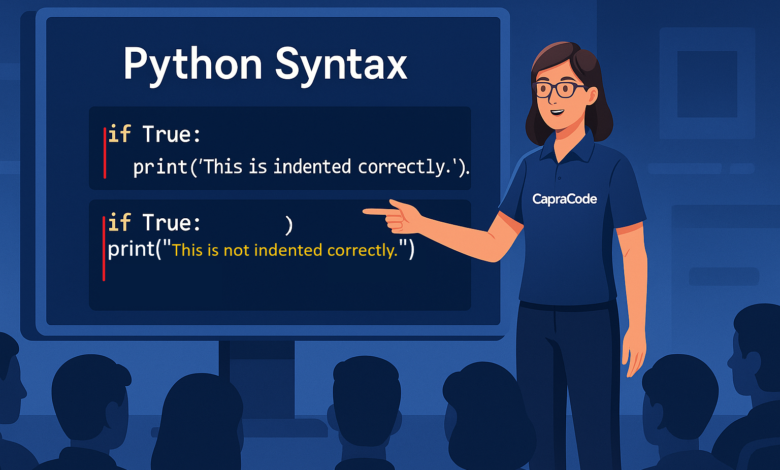
Let’s look at some basic syntax rules in Python by playing with indentation. In Python, indentation is very important because it indicates a block of code. If you change the indentation, you can affect how the code behaves.
Example 1: Using Indentation
# Correct Syntax
if True:
    print("This is indented correctly.")
Expected Output
This is indented correctly. 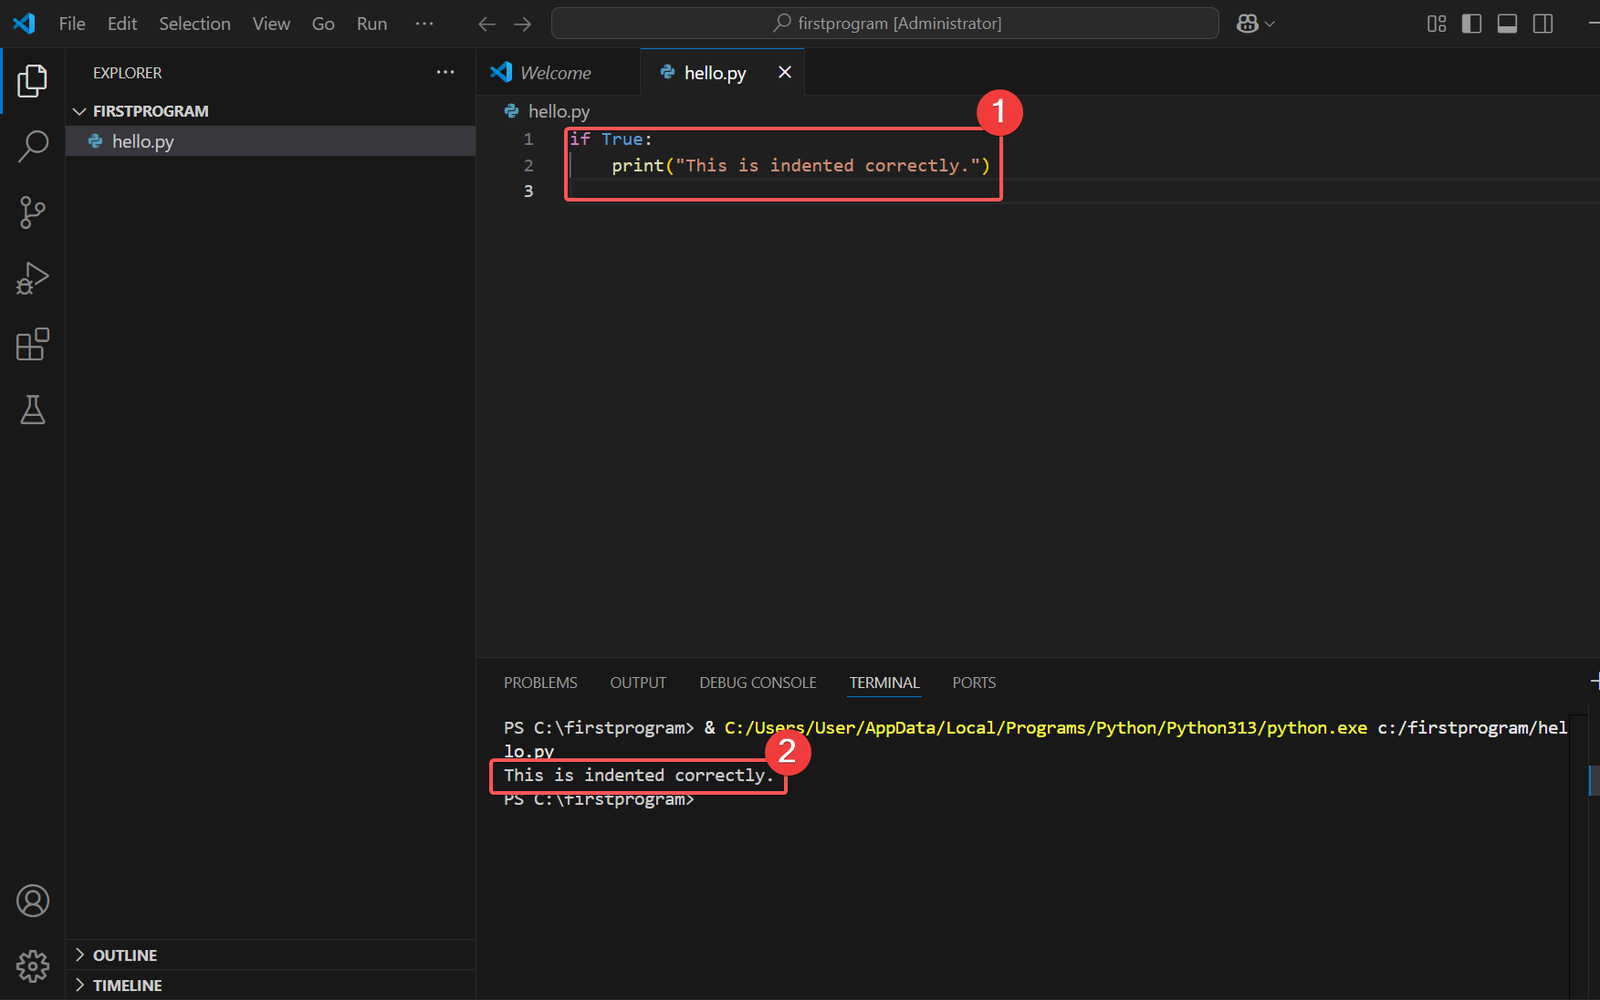
Example 2: Changing Indentation
Now, let’s change the indentation and see what happens:
# Incorrect Syntax
if True:
print("This is not indented correctly.")
When you run this code, you will get an error like:
IndentationError: expected an indented block 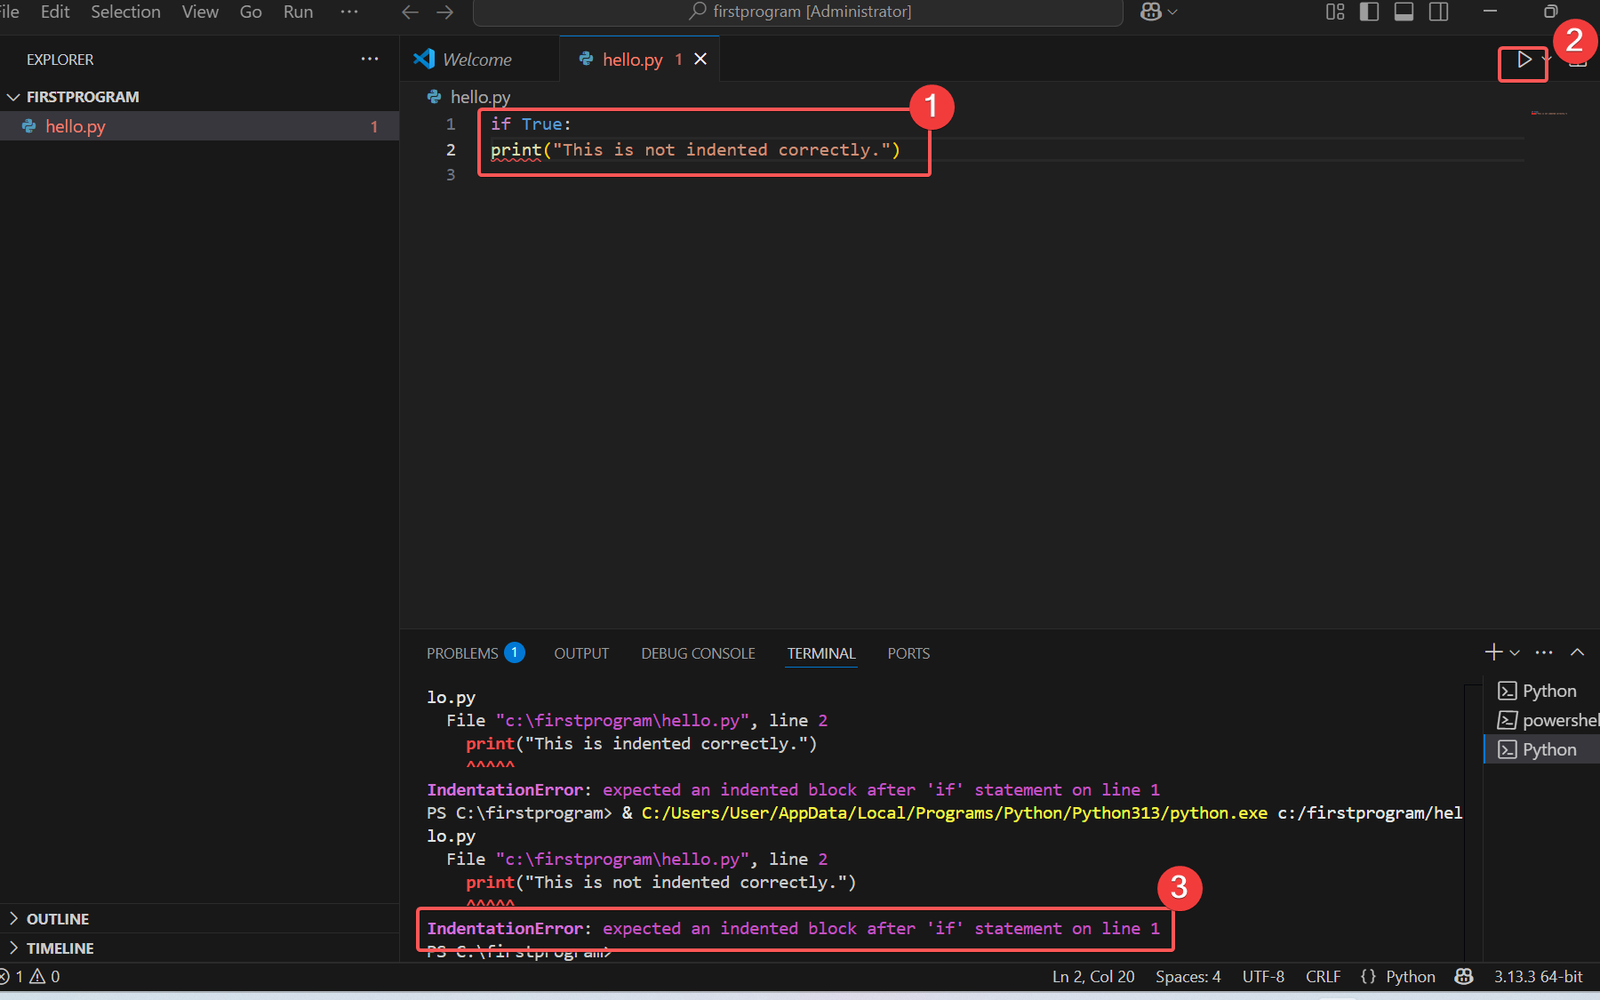
Example 3: Indentation with Loops
Another example using a for loop:
# Correct Syntax
for i in range(3):
    print(i)
Expected Output
0
1
2 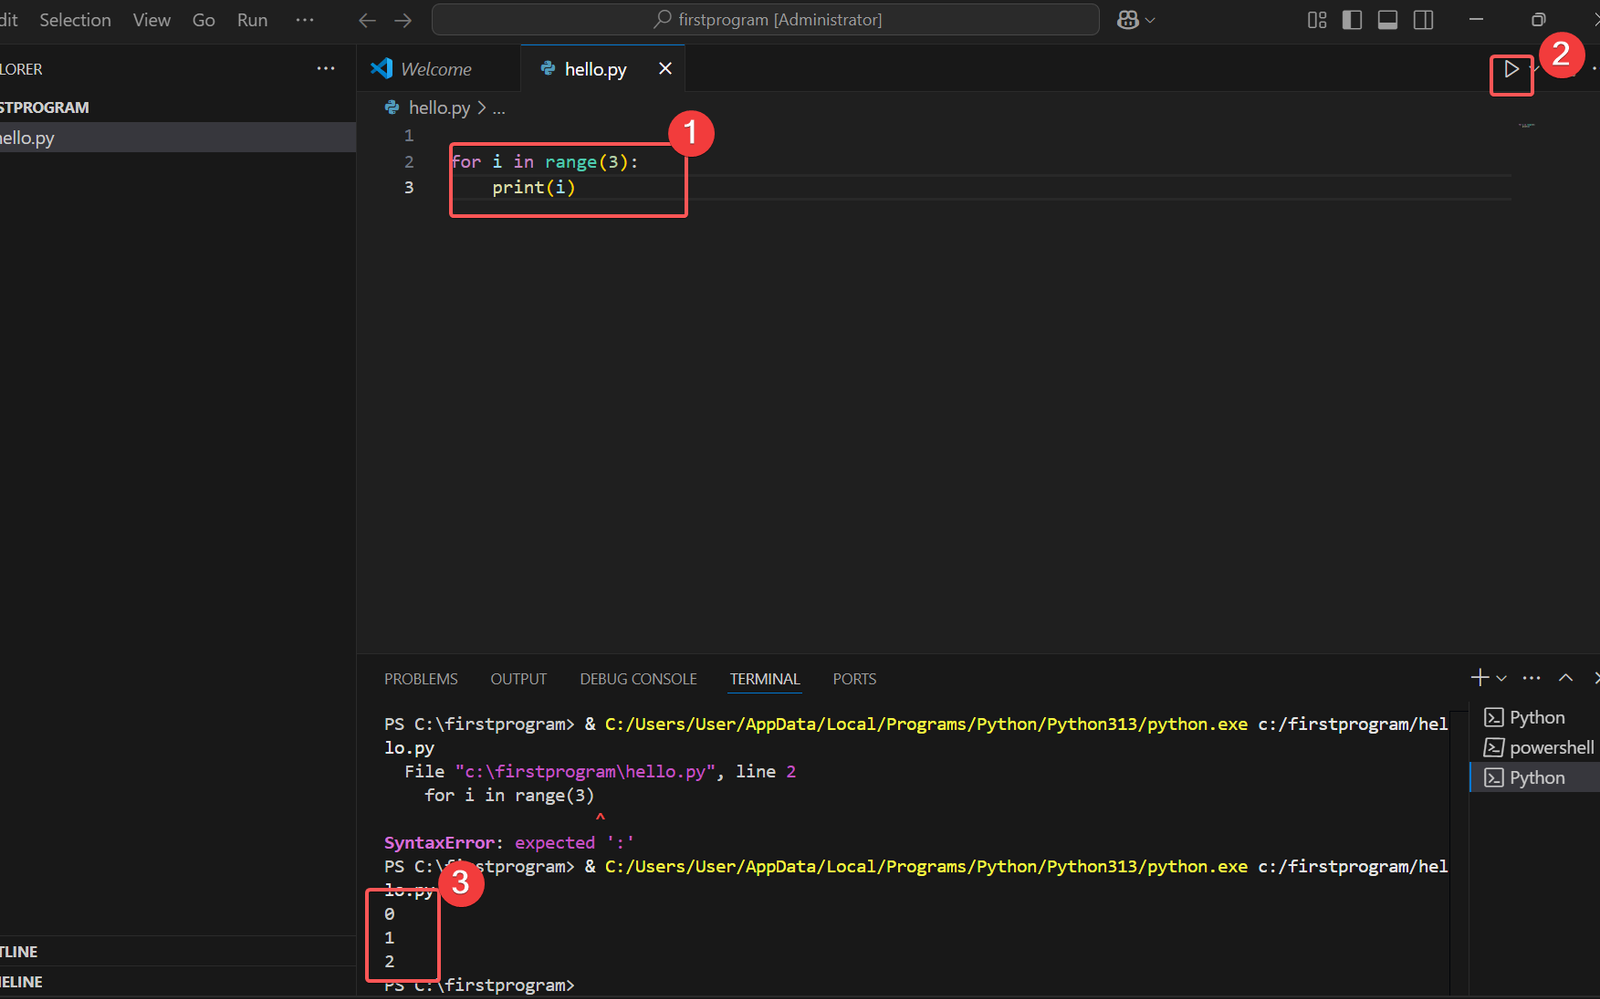
Now let’s change the indentation:
# Incorrect Syntax
for i in range(3):
print(i)
This will again result in an error:
IndentationError: expected an indented block 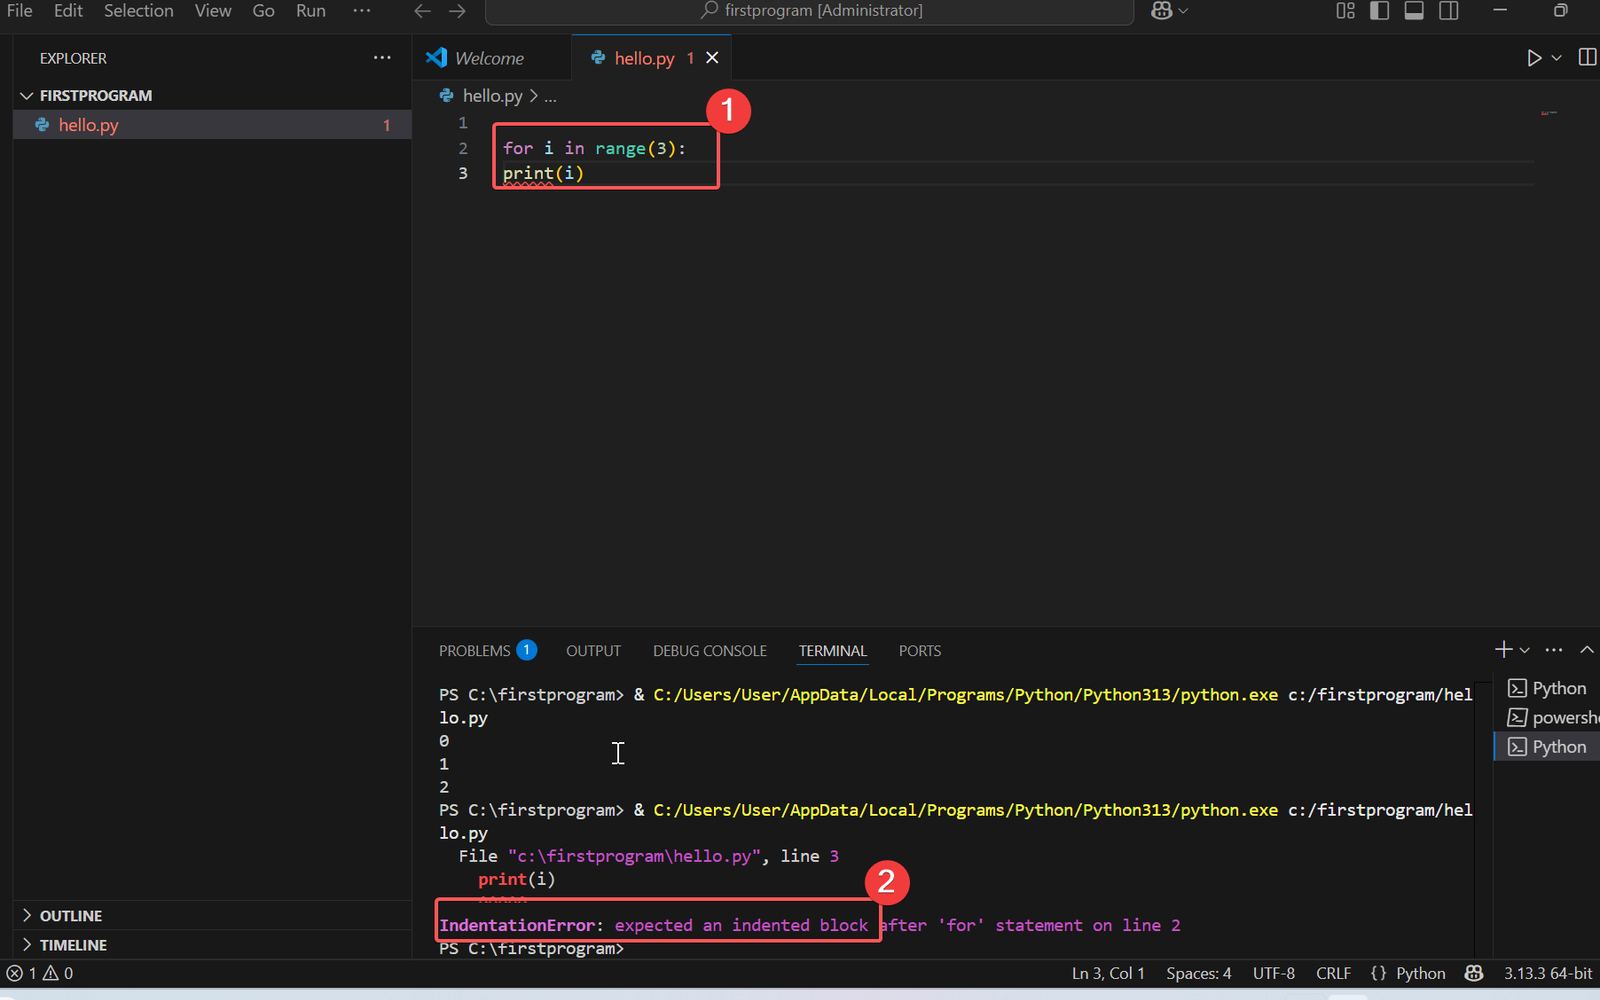
How It Works (Conceptual Understanding)
At the application level, when you write Python code, you are creating instructions for the computer to follow.
- Application Level: You write code using proper syntax and indentation.
- Interpreter Level: When you run your code, Python’s interpreter reads it line by line. If it sees an indentation where it’s not supposed to be or is missing, it throws an error.
- Binary/OS Level: At the lowest level, the correct syntax and indentation are essential for generating binary instructions that the operating system can execute. Without proper formatting, the generated code won’t function correctly.
Syntax Comparison: Python vs Java, C++, JavaScrip
| Feature | Python | Java | C++ | JavaScript |
|---|---|---|---|---|
| Indentation | Indentation defines block | Braces {} define block | Braces {} define block | Braces {} define block |
| Semicolons | No semicolons required | Semicolons required | Semicolons required | Semicolons optional |
| Type Declaration | No type declaration | Explicit type required | Explicit type required | No type declaration |
Best Practices in Industry
- Consistent Indentation: Always use either spaces or tabs for indentation consistently. The Python community generally recommends using four spaces for each indentation level.
- Readability: Ensure that your code is easy to read. Proper syntax and indentation lead to better readability, which is important in collaborative environments.
For example, many public projects on platforms like GitHub follow these conventions to ensure the code is easy to maintain and understand.
Practice Tasks
Task 1: Indentation Practice
- Write a simple if statement that prints a message if a number is greater than 10.
- Change the indentation level of the print statement and see what error you get.
Task 2: Loop Indentation
- Create a loop that prints numbers from 0 to 5.
- Try to remove the indentation and see what error occurs.
Guidance
Feel free to play around with the indentation in the code examples. Try adding more print statements or modifying the range in the loop. The goal is to experiment and see how different indentation affects the code’s execution.
Motivation
Try the tasks and share your answers in the comments to get appreciated! Happy coding!


